.Upgrading your shower to a rain shower head can transform your bathroom into a luxurious retreat. The UK’s modern apartments often have plumbing systems that support such installations, making it easier to enjoy a spa-like experience at home. This guide will walk you through the process of installing a rain shower head in your UK apartment, with tips for ensuring a smooth and efficient setup.
Why Choose a Rain Shower Head for Your UK Apartment?
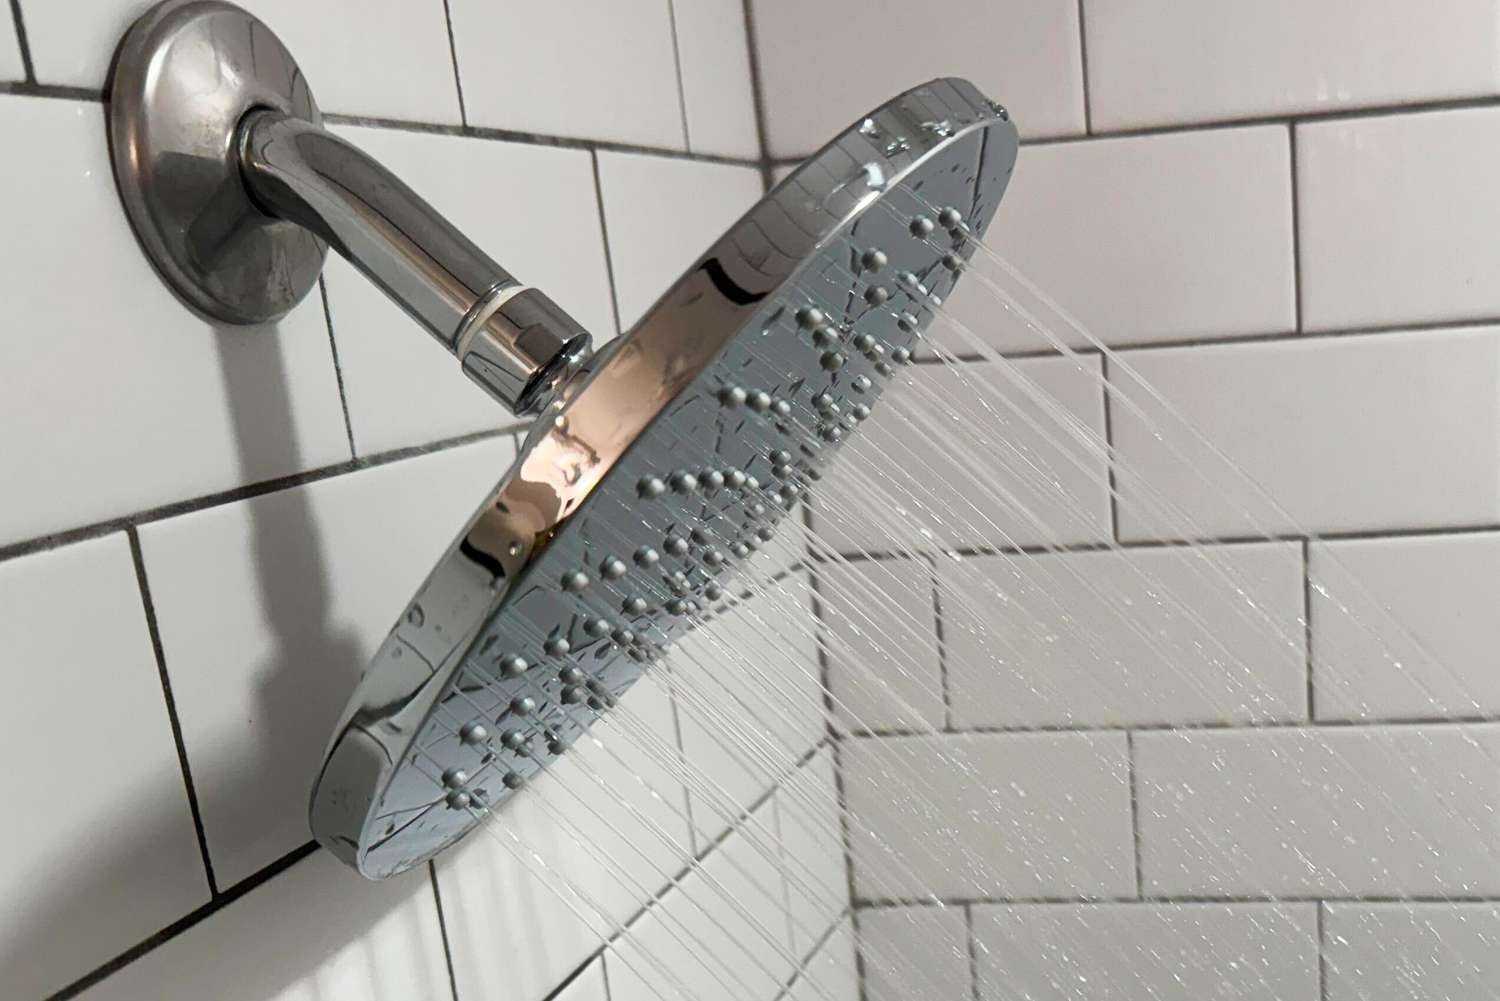
Rain shower heads offer a unique and relaxing shower experience, replicating the gentle flow of rainfall. They are perfect for the UK’s modern lifestyle, combining aesthetics with functionality.
What You’ll Need for Installation
Before starting the installation, gather the necessary tools and materials:
Rain shower head
Adjustable wrench
Plumber’s tape (Teflon tape)
Ladder or stool (if installing on the ceiling)
Cleaning cloth
Optional: Shower arm extension
Step-by-Step Guide to Installing a Rain Shower Head
1. Choose the Right Rain Shower Head
Select a rain shower head that suits your bathroom design and plumbing setup. Consider factors like size, material (stainless steel or chrome), and additional features such as water-saving technology.
2. Turn Off the Water Supply
Before installation, turn off the water supply to prevent any leaks or water wastage. This is especially important in UK apartments where plumbing systems can vary.
3. Remove the Existing Shower Head
Using an adjustable wrench, carefully unscrew the existing shower head. Wrap the shower arm with a cloth to avoid scratches during removal.
Pro Tip: If the old shower head is stuck due to mineral buildup, apply a descaling solution and let it sit for a few minutes before attempting removal.
4. Clean the Shower Arm Threads
Clean the shower arm threads with a damp cloth to remove debris or limescale. Ensure the threads are smooth for a secure installation.
5. Apply Plumber’s Tape
Wrap plumber’s tape around the shower arm threads in a clockwise direction to ensure a watertight seal and prevent leaks.
6. Attach the Rain Shower Head
Screw the rain shower head onto the shower arm or extension, turning it clockwise until snug. Use a wrench if needed, but avoid overtightening.
7. Test the Installation
Turn on the water supply and check for leaks. If leaks appear, remove the shower head, reapply plumber’s tape, and reinstall.
8. Adjust and Enjoy
Position the rain shower head for optimal water flow and enjoy your upgraded shower experience.
Tips for UK Residents
Hard Water Solutions
The UK’s water can contain high mineral levels, leading to limescale buildup. Using a shower filter can help protect your rain shower head and improve water quality.
Professional Assistance
If plumbing adjustments are needed, consider hiring a professional plumber for a hassle-free installation.
Benefits of a Rain Shower Head in UK Apartments
Relaxation: Mimics natural rainfall for a calming experience.
Luxury: Enhances modern bathroom aesthetics.
Efficiency: Water-saving models help reduce consumption.
Maintenance Tips
Regular Cleaning: Wipe the shower head after use.
Descale Nozzles: Soak in vinegar monthly to remove buildup.
Check Seals: Reapply plumber’s tape when needed.
Conclusion
Installing a rain shower head in your UK apartment is a simple yet transformative upgrade. By following these steps, you can enjoy a luxurious, spa-like shower experience while improving your bathroom’s functionality. For best results, consider using a Blue Oasis Filter to help reduce limescale and maintain long-lasting performance.